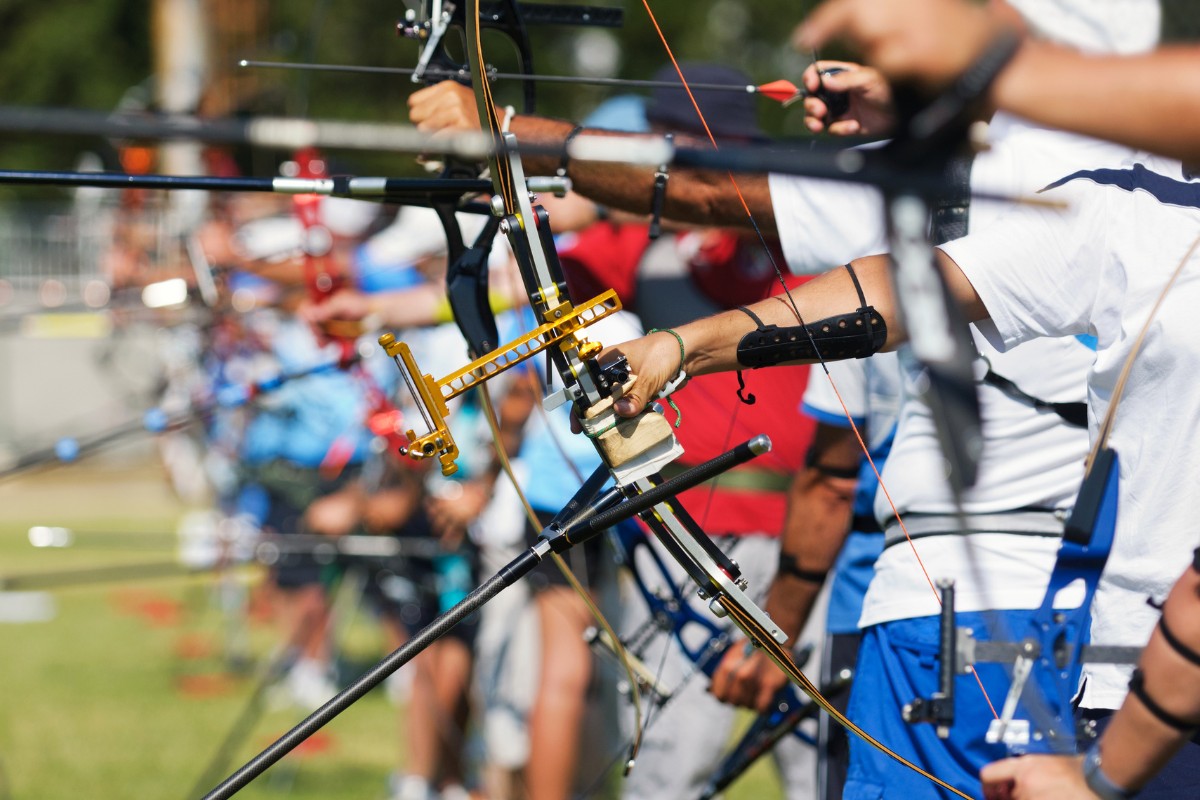
Every archer would love to walk into their backyard to find a ready and waiting archery range, right? Oh, if only wishes were horses…
Driving to the range every day of the week is exhausting, if not impractical. You could come up with a makeshift archery range following instinct and what you recall from the previous Olympics, but isn’t that leaving too much room for error?
It is for this precise reason that this guide has been put together for you. Understanding the value of practicing as close as you can to the actual setting, the focus is on one of the most important elements of an archery range: the archery target.
How High Should an Archery Target Be
The center (the pinhole) of a single face target should be 130 cm (4 ft 3 in) ± 5 cm measured from the ground, and it should be inclined at an angle of about 15 degrees.
The target instructions do not end there. There are several things to care for and elements that you can easily mistake. For instance, using a target made of substandard materials reduces your arrows’ durability. To prevent this, and other problems, the instructions below are of paramount importance.
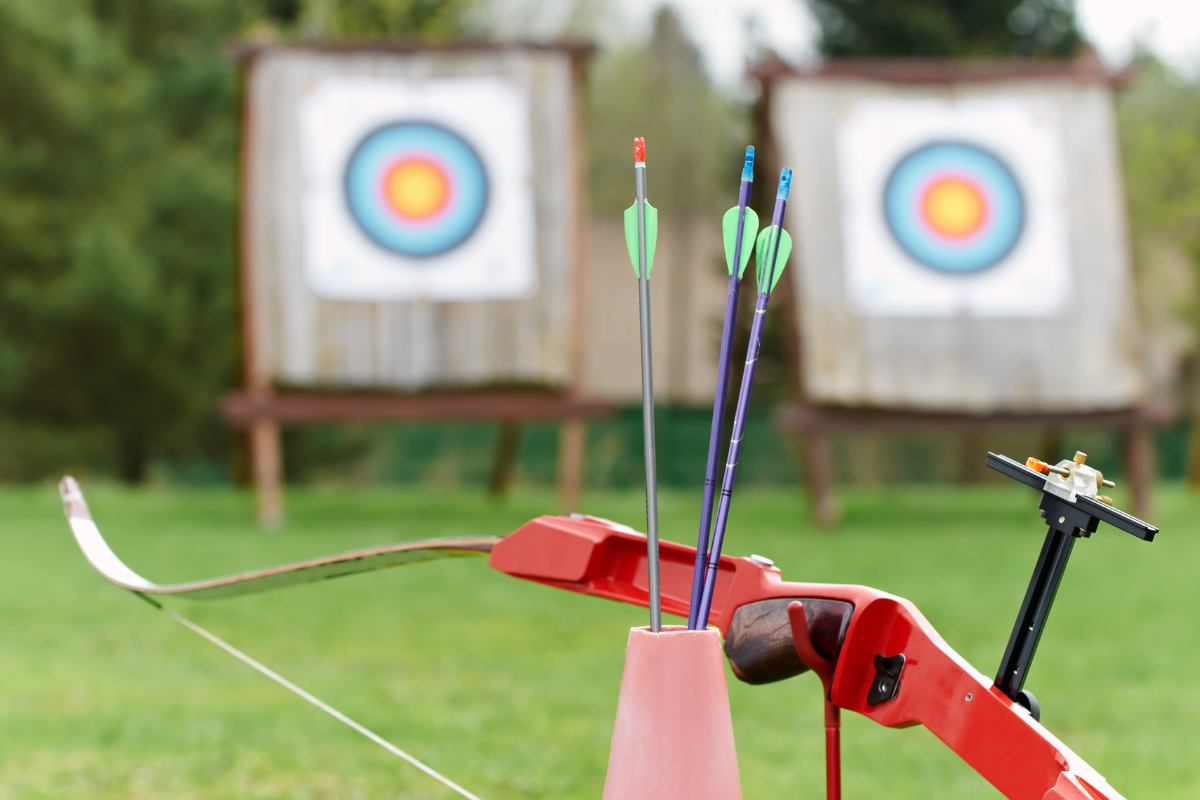
What Are the Dimensions of an Archery Target
The size of the target depends on the form of archery and whether it is taking place indoors or outdoors. There are four outdoor target faces and ten indoor target faces as listed below.
Outdoor Target Faces
- 122 cm in diameter
- 80 cm in diameter
- 80 cm 6-ring face (for multiple setup with score zones 5-10)
- Academic Round hit/miss face
Indoor Target Faces
- 60 cm diameter
- 60 cm triangular triple
- 60 cm vertical triple
- 40 cm diameter
- 40 cm triangular triple
- 40 cm vertical triple
- 40 cm-R triangular triple
- 40 cm-C triangular triple
- 40 cm-R vertical triple
- 40 cm-C vertical triple
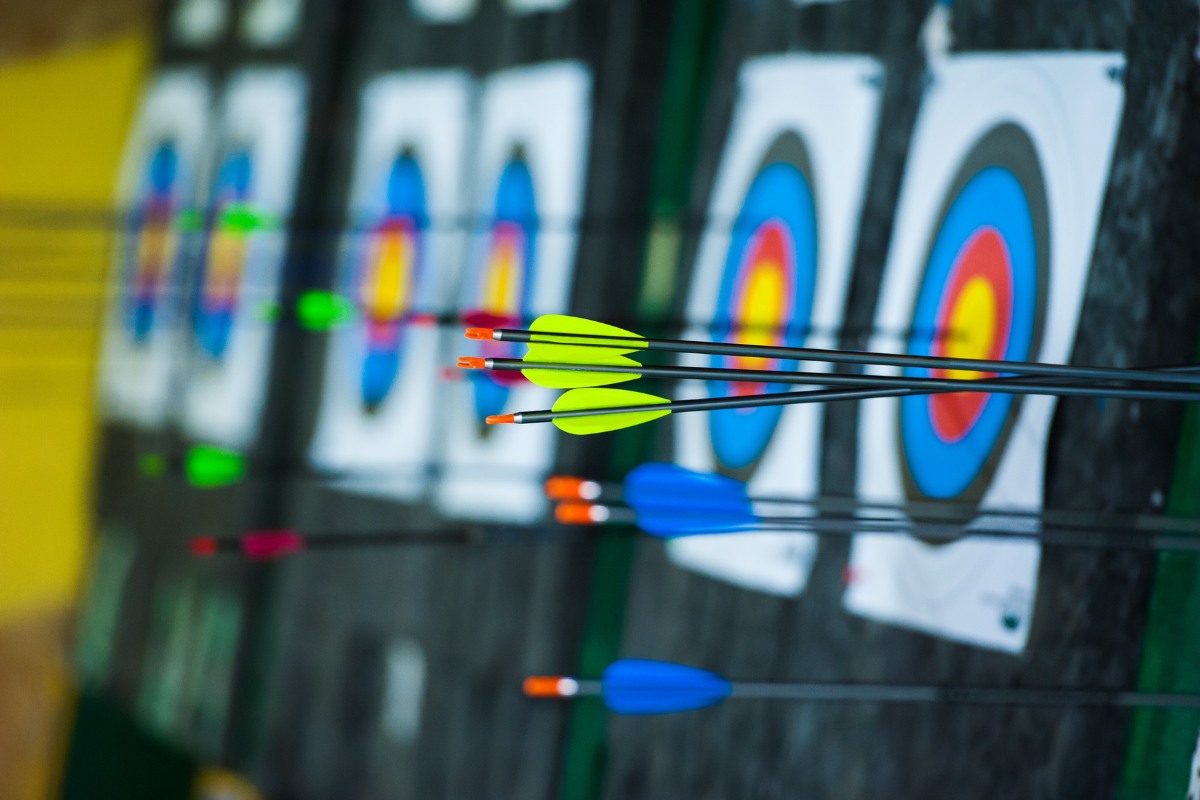
Each target is divided into five color zones arranged from the outside to the center as follows: white, black, light blue, red, and yellow (gold). A thin line, that shouldn’t exceed 2 mm, divides the color zones into two equal widths equaling ten scoring zones of equal measurements when measured from the center. The zones of the target face measure:
- 6.1 cm on the 122 cm face
- 4 cm on the 80 cm face
- 3 cm on the 60 cm target face
- 2 cm on the 40 cm target face
The target’s center should be indicated by a small cross that shouldn’t exceed 4 mm in length or 1 mm in width. There should also be an inner 10 ring (which, when scored, is recorded on the scorecards as an X) that should match the measurements of the zones respective of the target’s size.
How to Make Your Own Archery Target
Although you can purchase a target easily, as discussed in the “Other Target Options” below, you should also know how to make one yourself. Apart from being economical and disposable, commercially available targets are only available in a few shapes and sizes, so doing it yourself is the only way if you want a certain feature.
If for no other reason, why not just for the fun of doing it? Below are two methods that will have your target ready in under thirty minutes.
Materials
- Hay
- Plastic covering
- String
- Old cardboard box
- Stuffing (which can be any soft and absorbent material)
Method 1
Constructing the target using hay is very simple. In fact, calling it ‘construction’ is somewhat overselling the procedure because you only need to find a well-sized bale of hay (or several stackable bales) and set it/them up.
Cover it/them up with plastic using a market cover or a tarp, then cut small holes into the edges of the target. Tie the string through the holes and tie it around the bale to hold it in place. Voila!
However, going this cheap way sacrifices some quality, so depending on your frequency of shots and your draw weight, the hay may not last more than a couple of weeks.
Method 2
The box target is also quite simple to construct. You only need to fill the cardboard box with the foam material stuffing or old clothes, draw or attach the target on the side, and you are good to go.
There are various other methods you can use to make your own target. However, the hassle and expenses involved in these methods only liken them to purchasing a commercial target. For both methods discussed above, ensure that you follow all the recommended dimensions and heights.
Other Target Options
If you would rather purchase than create one yourself, you will be faced with a plethora of options. The best thing about purchasing a target for yourself is that the designs of most modern models are matched to a specific bow, arrow, or shooting style. The options are:
Bag Targets
These are the most basic form of commercial archery target, and almost every archer has practiced on them. They are literally just a bag stuffed with synthetic fiber or cotton to stop the arrows and allow you to dislodge them with ease. Though cumbersome, these targets are portable, and most come with holes at the corners to allow you to suspend them at the ideal height.
That being said, they are not necessarily element-proof, so you cannot leave them in the rain or sun for too long. They are also only usable with field points. Broadheads will most likely shred the polypropylene covering while going in and even worse when dislodging them. Though usable outdoors, they are best for indoor use.
Foam Layer Block Targets
Foam layer block targets, as their name implies, are made from foam layers. Instead of using force to stop the arrow as in bag and the DIY targets above, these targets use friction. They work by picking the arrow in between the layers. This allows them to last significantly longer than the above options. Although you can use any type of arrow with these targets, they last significantly longer when used with field points only.
As you shoot foam layer targets, you need to be conscious about the angle of your shot. It is important because these arrows hold the arrows between the layers, so shooting between the layers beats their purpose. Additionally, if you have a very heavy draw weight, your arrow may be lodged very deep inside the target, resulting in a more difficult dislodging process.
3D Targets
Although they don’t fall under target archery, 3D foam targets are the best options if you want to simulate a life-like hunting situation. They are available in a number of options and animal species, both alive and extinct. They are best used with field points rather than broadheads.
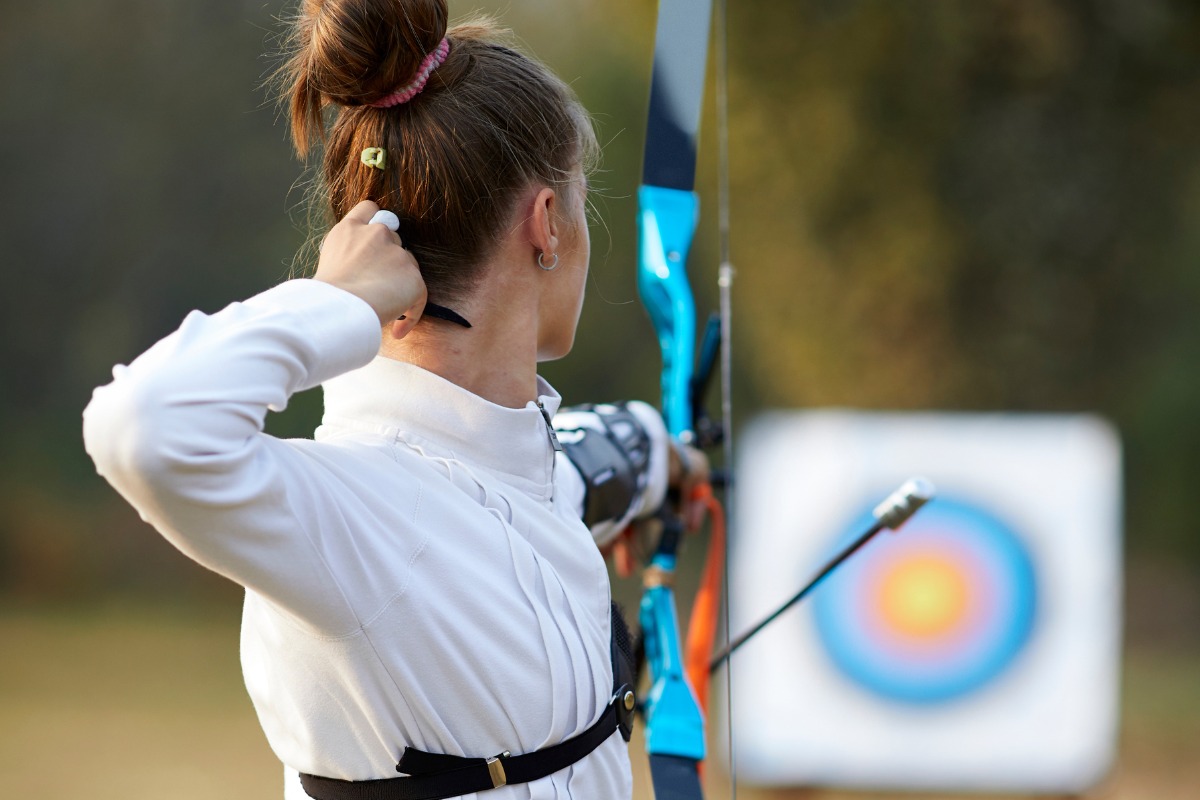
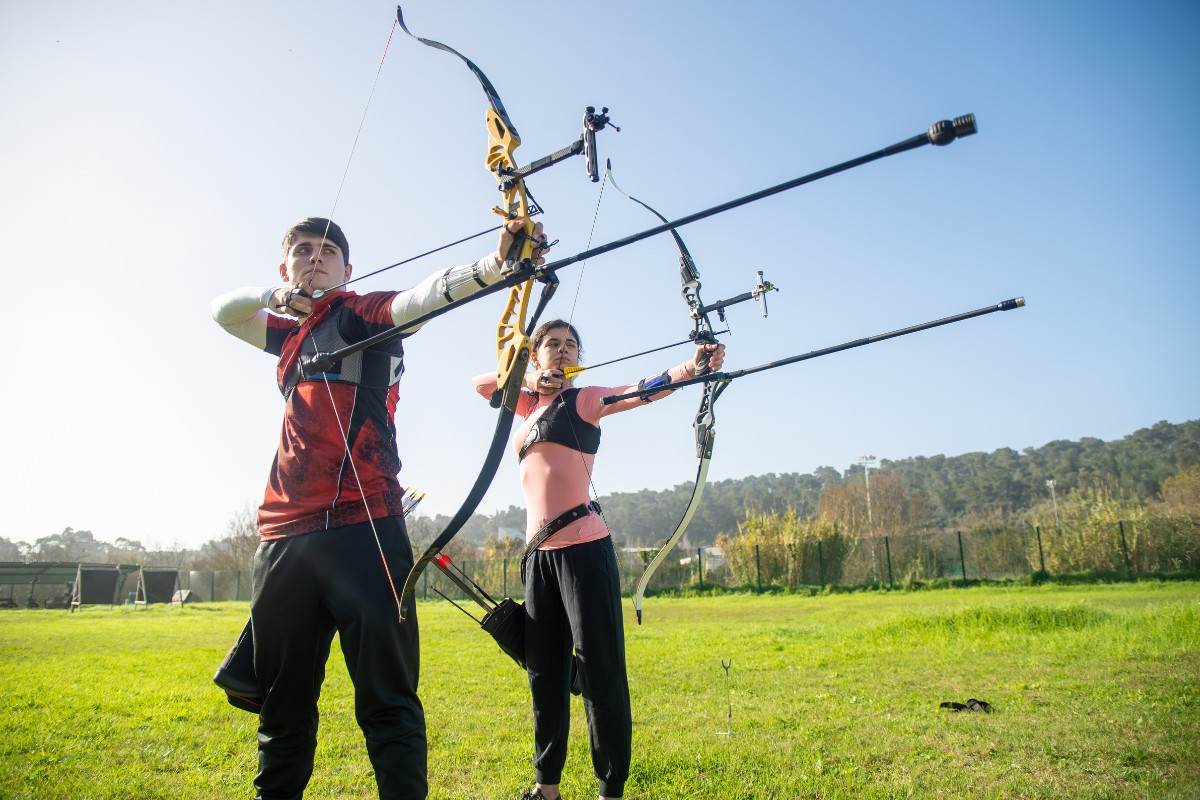
How Far Should an Archery Target Be
The International Olympic Committee (IOC) uses the World Archery Federation (WA) rules to govern all Olympic and Archery rules. All the rules and procedures can be found here.
According to the rules, gentlemen archers shoot between 30 and 90 meters, and ladies shoot between 30 and 70 meters for a 1440 round, which was known as FITA Round until 2014. The distance also depends on the type of competition: recurve athletes shoot at targets 70 meters away, while compound athletes shoot at a target 50 meters away. Indoor distances range from 18 to 26 meters. Juniors have shorter targets.
The Grand National Archery Society (GNAS) rules vary slightly. In the Imperial Rounds, the standard outdoor distance ranges from 37 to 91 meters, and the indoor distance is 18 meters. Juniors shoot between 9.1 to 73 meters.
If you have sufficient space, you should leave about 50 yards of overshoot distance behind your target. If not, then a quality backstop should suffice.
Related Questions
What Is the Archery Target Distance for Beginners
The same technique you use to hit the target 30 meters away is the same you use to hit one 70 meters away, so you shouldn’t be hasty about it. Besides, as a beginner, the farther away you are, the higher the chances of damaging arrows.
The ideal starting distance depends on your age. The procedure to follow is the same whether you are practicing indoors or outdoors. Kids younger than 7 start at 5 yards, while older ones can start at 10 yards. Teenagers and adults can start at 10-20 yards. Once you can hit the target consistently, add another five yards between you and the target and try again. Continue adding 5 yards to the distance as you get better until you hit the 70-meter mark. Even when you do, you should try the shorter distances from time to time too to avoid perfecting only a certain distance.
Even though you don’t have to follow these guidelines during practice or casual shooting, it is important to, as most competitions will follow them. You will be at an advantage if you have experience using their rules.
What Are the Archery Target Faces Made Of
There are several different types of materials that one can use, but they are made of reinforced paper and pinned to a target butt or boss, made of straw or foam. The other materials you can use include, but are not limited to, cardboards, magazines and newspapers, old clothes, and compressed carpet.
Final Thoughts
There are many reasons why you would want to set up your target as per the specified instructions. The main one is, it will prevent you from developing your stance and form around too high or too shallow a target, then miss all your shots during a tournament.
If you are looking to set up an archery range for personal use, you may be tempted to skip a regulation or two. Sure, it may feel great that you are hitting the bullseye, but it is not really satisfying when you know it is because you found your way around a requirement.