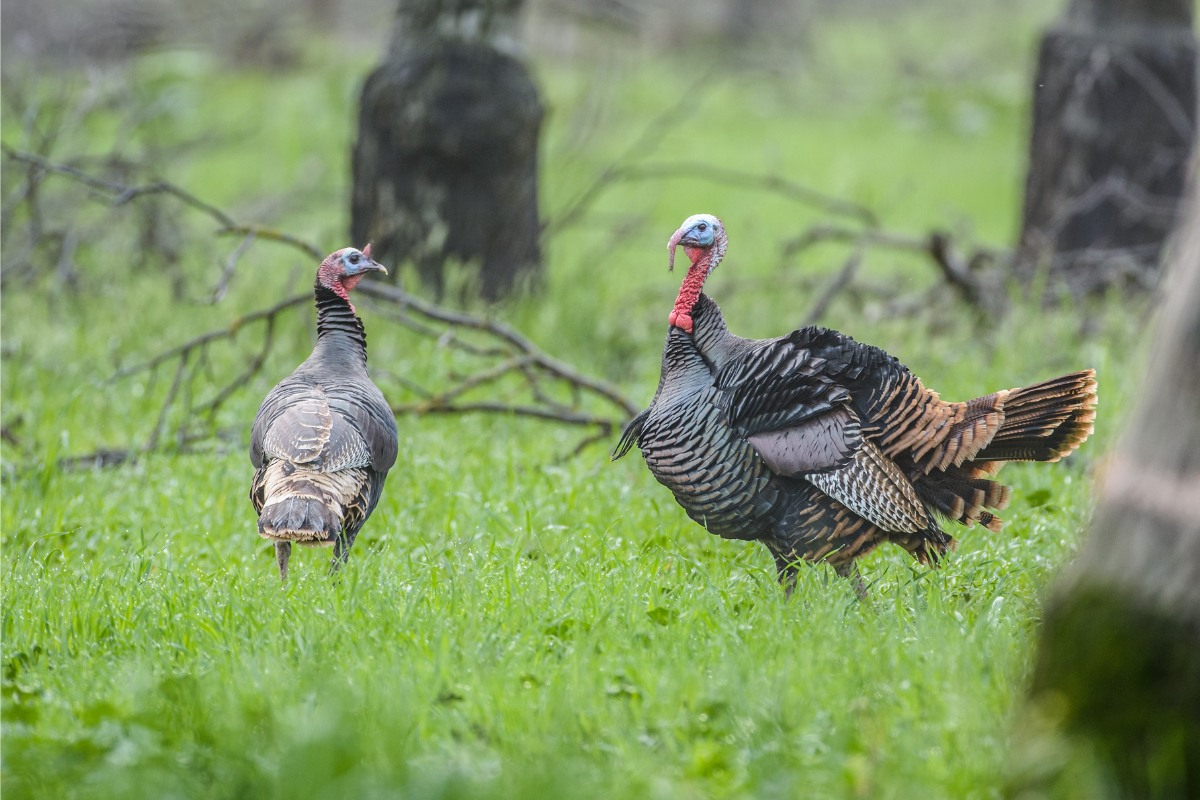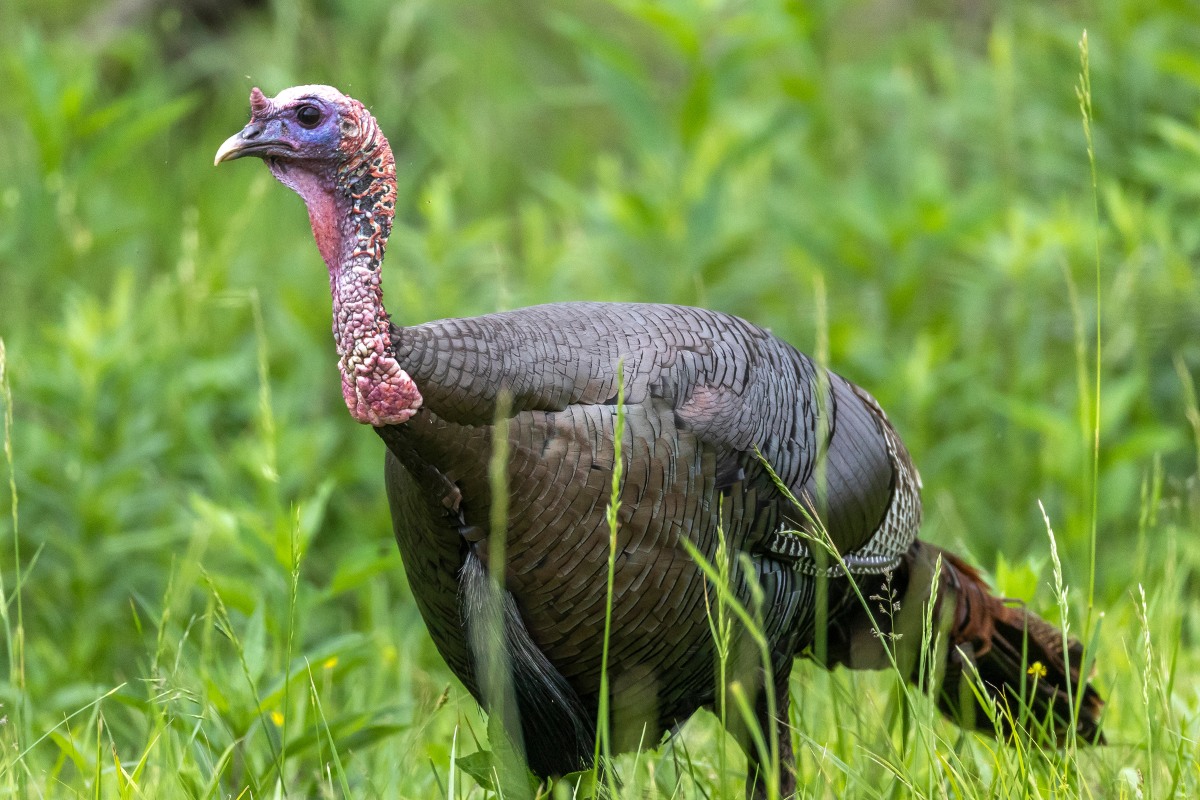
Whether it’s your first buck, best buck, small spike, or giant 10 point, preserving the memory of the hunt with a beautiful mount will spark flashbacks of the shot, the crisp morning air, images of your deer chasing a doe, and all the other events that led up to you being successful. Not to mention a great conversation piece to be admired by others and from which you can recount the story.
But perhaps you are not interested in a full shoulder mount. Although a trophy in your eyes, maybe it’s not quite worthy of the taxidermy fees associated with a professional mount. Or perhaps the deer was found dead as opposed to a personal harvest.
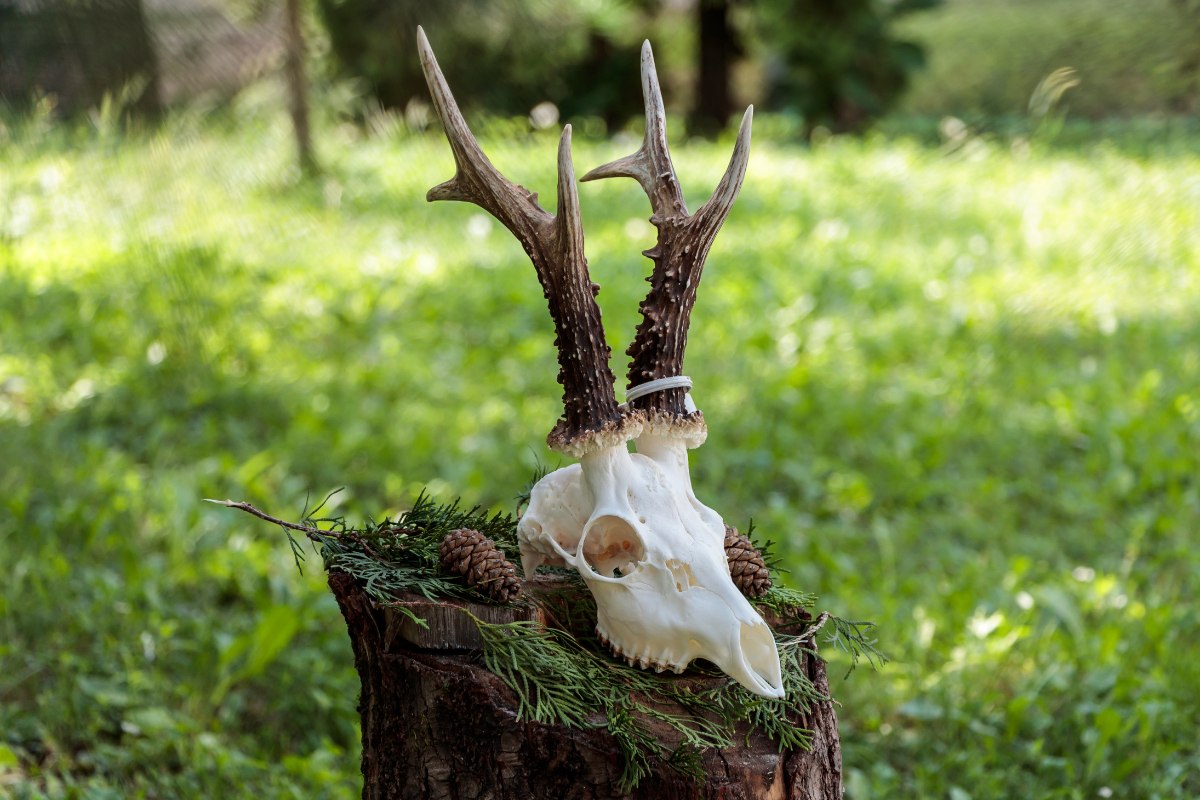
Another popular option is a skull mount, also known as a European Mount. This is where the deer’s antlers remain intact with the skull and the skull is cleaned of flesh and sometimes whitened to leave a beautiful, rustic look to your trophy. There are several ways to achieve this look that can be performed at home with professional results. Each requires only time and a little patience.
Getting Started
The first step in any of the processes is to remove the hide and as much flesh as possible by hand. A utility knife with a sharp blade, Exacto knife, or scalpel works best. Start by making a “cross” cut on the deer’s forehead between the antlers. Carefully pull back the hide, scraping the meat from the bone as you go. Work the blade under the antler bases and down the sides of the skull until the hide is free. The lower jaw can be removed by cutting the musculature around the hinge and dislocating it from the socket. Remove the eyes, tongue, roof of the mouth and nose. Remember that this is only the rough start and not every scrap of meat needs to be removed, but the more you take off now, the less time and effort will be involved later.
The last item to be removed is the deer’s brain. It is not necessarily a requirement to remove the brain at this stage. Beetles will eat it, the elements will rot it, and boiling the skull will cook it to mush. But it is several ounces of additional tissue that needs to be removed. Choosing to take care of it at the front end means there is less time spent waiting for it to decompose, be consumed, or cooked. Removing the brain is as simple as taking a wire clothes hanger, bending the end to make a tight loop, and inserting it through the foramen magnum (small circular opening at the base of the skull through which the spinal cord connects). Once inside, scramble the brain matter much like you would scramble eggs, being sure to rake the inside of the brain cavity to loosen or remove the membrane containing the brain. Using a garden hose, the brain can now be flushed out of the skull through the foramen magnum.
Which Method to Use
Before choosing a method to use, there are several factors to consider, such as the condition of the head, proximity to neighbors, access to materials, and the time frame in which you are working.
Condition of the Head
The condition of the head is important to consider as freshly harvested deer require you to start from scratch. Whereas a head that has been laying on the ground for any length of time will have already started the decaying process. For instance, in September where temperatures routinely reach the 80’s or higher, making a good shot and quick recovery a must or you risk losing the deer to scavengers. Usually, the first scavengers on the scene are the variety of insects and their larvae that can deal with a 200 lb animal in about a week’s time. Therefore, one of the most popular methods for cleaning a deer skull for mounting is to use the dermestid beetle to pick the skull clean of flesh. This method essentially recreates the natural process in a controlled environment. But found skulls will have varying degrees of decay, from actively rotting to mummified hide or even completely devoid of flesh which are better cleaned in other ways.
Proximity to Neighbors
Your proximity to your neighbors may be a concern for you as, depending on the method, cleaning your own deer skulls smells and smells bad! As you can imagine, rotting flesh is about as unpleasant of an odor as there can be. So choosing to allow your skull to be cleaned naturally through rotting and insects may not be the best method if you live in the heart of a subdivision. But don’t get discouraged, as other processes can reduce the odor or at least minimize the length of time of the olfactory onslaught.
Access to Materials
Having the right tools and materials before you start will make the process go much smoother and create the best results. Although most items can be found at your local grocery store, dermestid beetles won’t be found in the pet department and establishing a colony large enough to handle a deer skull can take months. Appropriate planning can save time by having your supplies ready prior to beginning the cleaning process.
Time Frame
Finally, determine the time and amount of work you are willing to put into it. The easiest methods may take months to complete, whereas more aggressive DIY’ers may be able to achieve a final mount in only a week or two.
Dermestid Beetles
Dermestid beetles or carpet beetles, are one of nature’s many clean up crews that can easily dispose of the flesh from a harvested deer and do it in an amazingly efficient way. A favorite among museum preservationists and medical institutions, this process involves the establishment of a beetle colony large enough to handle the size of the skull to be cleaned.
A typical deer skull will require about a thousand beetle larvae to efficiently remove large volumes of meat. Although you can easily purchase beetles and larvae over the internet, reputable growers are preferred as they usually guarantee their beetles to be free of other insects and parasites that can cause a colony to fail. Purchasing 200-500 beetles/larvae (plenty of egg-laying adults is a must) will give you a jump-start on getting your colony ready for skull cleaning, but it may take a month or more before the colony is fully up to the numbers needed to do the job.
A simple plastic tub adequately sized to hold your skull with good bedding material made up of shredded papers in which the adult beetles can lay their eggs will be sufficient to grow your colony. Once the colony is established, a fresh deer head can be completely cleaned in 1-3 days without the greasy feel that boiled skulls can have. Older skulls that may have some dried tissues should be soaked in water to rehydrate and soften the tissues before placing it into the tub. You will want to keep the skull moist by misting daily as needed but not wet. Getting the container too wet can allow mold to grow. The beetles operate best in dark, warm conditions with high relative humidity. Once the beetles have cleaned the skull of all flesh tissue, rinse it thoroughly with water and allow it to dry for a few days. It will then be ready for bleaching.
The downside is the time and care required to establish and maintain a productive beetle colony and the smell created by their activity. They work best when temperatures are maintained in the 70-80’s which can pose a problem for many as deer seasons are usually during the colder months of fall. Moving them inside would require adequate ventilation and even then few would risk permeating their garage, basement, or home with the smell of rotting flesh. The little buggers can also be quite ambitious in their quest for flesh and often loosen or dislodge teeth from the skull. Don’t worry as the teeth can be easily glued back in place with a clear adhesive, but you may want to place a wire mesh or screen down to catch any tooth that may be worked free.
Boiling
When boiling a skull you are literally cooking it like a soup bone until the meat falls off. This process works very well for most of the flesh on the skull but the turbinates, thin spiral bones inside the nasal cavities, and around the tighter, more intricate pieces of bone can be trapped and difficult to remove.
You can use an old galvanized wash tub picked up from any flea market for $2 filled with enough water to cover your skulls (but NOT the antlers) and place it on top of cinder blocks in the backyard. Light a wood fire under it and slowly bring it to a low boil/high simmer. After about an hour, check on the skull by removing it from the water, removing any meat that has started to come off and returning it to the pot. After another 15 minutes, repeat the process with a razor blade, wire brush, and pick to start to get the flesh from the smaller areas, then return it to the tub. Usually after about 2-4 hours it is done but time can vary greatly depending upon temperature, so repeat the process as often as needed. The end product usually has a “natural” bone appearance with white mixed with greys. Some folks prefer this look to the pearly white bleached skulls but if not, see the bleaching section below.
Close supervision on your part is a must as boiling for too long or at too high of temperatures can cause bones to separate or become soft and brittle. Another issue, as mentioned above, is that fat present on the skull can soak into the bone during boiling. Some laundry additives, baking soda, or dish soap can be added to help prevent this from happening. Chlorine bleach is not recommended as it can cause the bones to deteriorate (see bleaching below).
Rotting
The most basic method of all requiring little to no effort is simply leaving the skull outdoors for nature to do the work for you. After several months of exposure, opossums, raccoons, mice, flies, maggots, beetles, and pretty much anything else will have a feed on your trophy. The end result will be a cleaned skull ready for bleaching but there are a few tips to keep in mind.
First, as listed, every critter in the woods will want a piece of your mount and not all of them will be careful not to damage the bones or the antlers. The small thin nasal bones can be easily broken or chewed off. Squirrels will chew on antlers for the calcium, or the whole thing could be carried off by a passing coyote. So securing your skull so that it is not stolen is the first priority, especially when leaving the skull to the open air. Some prefer to bury the skulls (not antlers) so that they remain moist and promote ideal conditions for ants, worms, etc. as well as decay and to cut down on the smell. This method is not any less smelly and this is not a method that any neighbor within 100 yards of your skull will appreciate. So you may want to refrain from this technique out of courtesy if you live in close proximity to your neighbors.
Whether you bury your skull or hang it in a tree, cover the antlers to prevent bleaching from the sun. A black plastic bag will be sufficient to preserve the color of the rack during this process. After several months, the flesh should disappear. Rinse it thoroughly with running water or a pressure washer and allow it to dry for several days. Then bleach it to complete the mount.
Maceration
Maceration is a process in which you place the skinned skull in a tub of water and allow it to soak for a length of time to soften the flesh and allow bacteria to consume it. Depending on the temperature, this process can take a week to several months to complete. In colder climates or times of year, an aquarium heater can be used to keep the water at a warm temperature to promote bacterial growth. Check the skull periodically. When the meat can be easily peeled off or it is falling off, it’s ready. Do some final scrubbing/scraping with a wire brush and scalpel as needed, then rinse thoroughly with running water or a pressure washer. Allow it to dry for several days.
This process is very simple and usually results in the least likelihood of damage to the skull but it creates very offensive odors for extended periods of time.
Bleaching the Skull
Despite the name, it is not recommended to actually use chemical bleach to whiten the skull. The bones can easily become deteriorated and brittle. Instead, hydrogen peroxide should be used and will provide a brilliant white color.
Place the skull in a plastic container deep enough to cover the entire skull but not the antlers. Depending on the size and shape of the antler bases, it may be impossible to get the top of the skull submerged without submerging the antler burrs. In these cases, lay paper towels or a small cloth, soaked in peroxide over the unsubmerged areas and keep them wet with peroxide.
The length of time the skull will need to soak will be dependant on the strength of the peroxide. A 40% volume should take 8-10 hours, while a 3% volume could take a few days. This is also a great time for removing the last bits of cartilage and flesh that may remain as the peroxide will also help to loosen their hold to the bone. After about 12 hours of soaking (3% solution) and with a small pick, scalpel, and tweezers, examine the skull for any remaining items to be removed. This detailed step will help give your skull a clean, professional appearance in comparison to a skull that has small bits of tissue remaining.
Once the skull has turned white, remove it from the peroxide and allow it to dry for several days. Once dry, inspect the skull for any discoloration. Should there be some, use a paintbrush or sponge to apply additional applications of peroxide and allow it to dry until the discoloration is eliminated.
Loose Teeth
It is common during all of these processes for the teeth to become loose and even fall out. A simple clear adhesive can be used to reset the teeth after bleaching.
That’s it! You now have a beautiful mount to be proudly displayed and the best part is you did it yourself from start to finish!