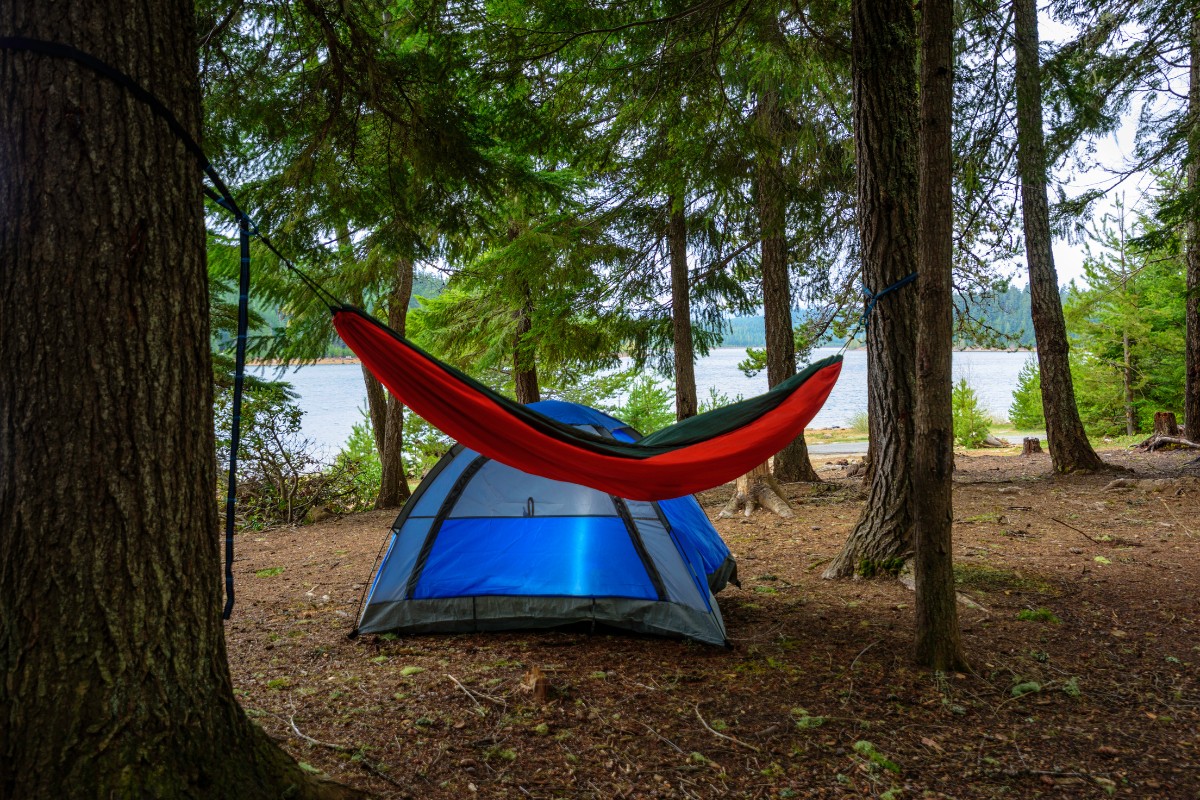
Learning how to make a hammock is an impressive skill that will amaze anyone you tell about it. A hammock is one of the oldest solutions when it comes to finding a place to sleep and is said to have numerous health benefits, providing just the right amount of support for the back and giving you a much deeper and more restorative sleep.
It’s incredible to think that all this is possible with just one very simple piece of fabric, tied between two points.
Of course, one of the reasons that hammocks have been around for so long is that they’re so simple to construct, meaning they could be made without modern manufacturing techniques. So, in theory, they shouldn’t be too hard to build on your own.
Let’s look at how you can go about making your own DIY hammock.
The Basics
Essentially, making a hammock means taking a piece of fabric and tying it around two trees. If you have fabric that is long enough, you could really turn anything into a hammock this way.
But for it to be a suitable option for sleeping and camping, you need to ensure that the material you choose is strong enough to hold your weight—otherwise, it could tear in the night and leave you with a sore back and a nasty wake-up call!
When manufacturers make anything like a hammock, they always ensure it can hold significantly more weight than it would need to in theory. In other words, it should be able to hold someone much heavier than you!
A good choice is canvas if you can buy a large amount—and this is what is traditionally used in nautical hammocks! Of course, many people will also want their hammocks to look the part, in which case you should try to pick a material that is attractive and probably uses some kind of pattern.
Take your fabric and cut it; you will normally want to cut around 225 cm by 128 cm, which should give enough room for you to sleep on. If you’re trying to be professional about it, you can sew up the seams as well by turning them in and sewing them down.
Adding Attachments
Of course, you can’t just tie your hammock around the tree, or you’ll be left with a piece of wound-up fabric that will be nearly impossible to climb into! Instead, you need some way to attach your fabric, and we recommend that you either use a spreader bar (slightly easier) or grommets.
If you use a spreader bar, this will be the easier option, but it won’t be as comfortable for sleeping or as versatile. This simply requires you to fold the end back on itself and sew it down (making sure to use a very strong stitch that won’t come undone under your weight!).
Now you should feed the piece of wood through (you might need to carve this yourself) and then do the same at the other end. This will give you a flat piece of canvas, and you can actually tie that at both ends to your tree—especially if you cut a groove of some sort into the ends of the sticks and then wrap the rope around those to prevent it from moving!
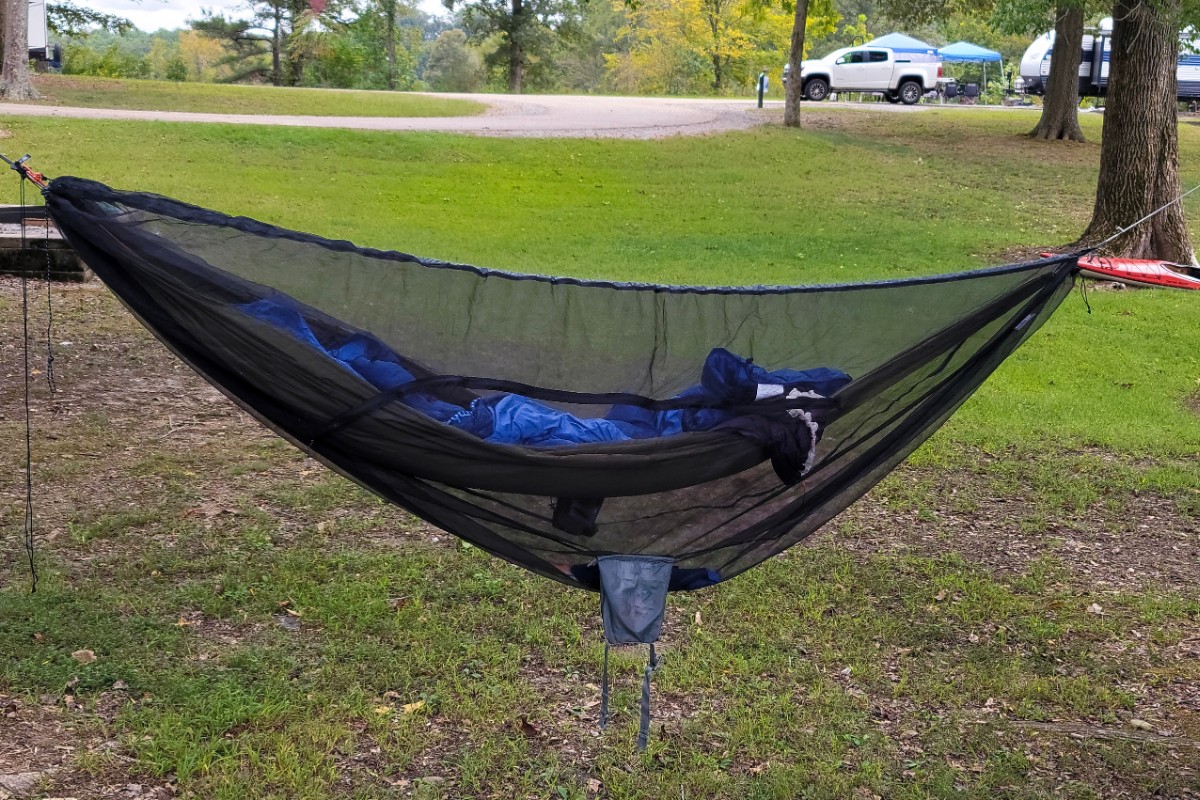
Using grommets is a slightly more complex method, but it will also give you a more traditional hammock design that will wrap around you when you lie in it to give you a comfortable night’s sleep and prevent you from falling out in the night!
Mark a number of evenly spaced holes where you’ll insert your grommets. We recommend about 20 if you’re going to use the measurements we suggested. Now punch the grommets into place along those marks. You’ll now be able to braid the rope into a harness, and the most common type of knot is the clew knot—you can look this up yourself!
From there, it’s a simple matter to attach your hammock via the harness (essentially a large loop). This is the best method for a DIY camping hammock as it will allow you to fold the hammock up small and stow it away.
And if you were ever on a desert island, you could do this with large leaves. Although that would probably never work unless you’re Bear Grylls.
The Extras
You can make your own makeshift hammock straps or use any kind of material to wrap your hammock around the tree—while being careful not to damage the bark.
But it’s usually better to invest in a real hammock strap for this part. It’s not cheating, seeing as you still make the actual hammock itself! Alternatively, you could always use a little more fabric.
You can also look into adding additional features like mosquito nets, pockets, or canopies. You can also think about buying yourself a hammock stand to show off your hammock creation to all your guests!
Now, obviously, you can also make your own DIY hammock stand too, and if you have any skill with woodwork or welding, then that’s probably going to be the easy part!
Sure, it can be fun to make your own hammock, but if you want something really beautiful, really reliable, or really practical, then the professionals tend to do it best. And as you’ll see, they’re actually surprisingly affordable!
Note: If you do make your own hammock, then make sure not to hang it too high up to avoid the risk of falling and injuring yourself!