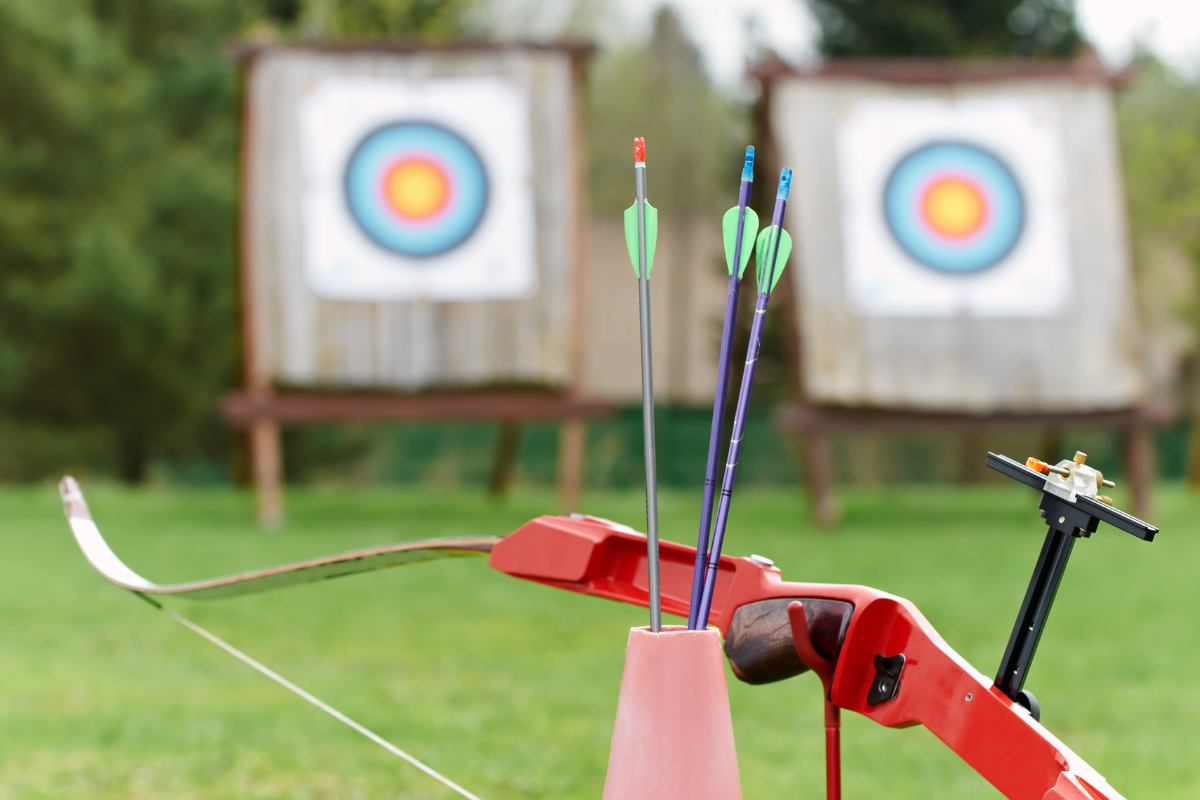
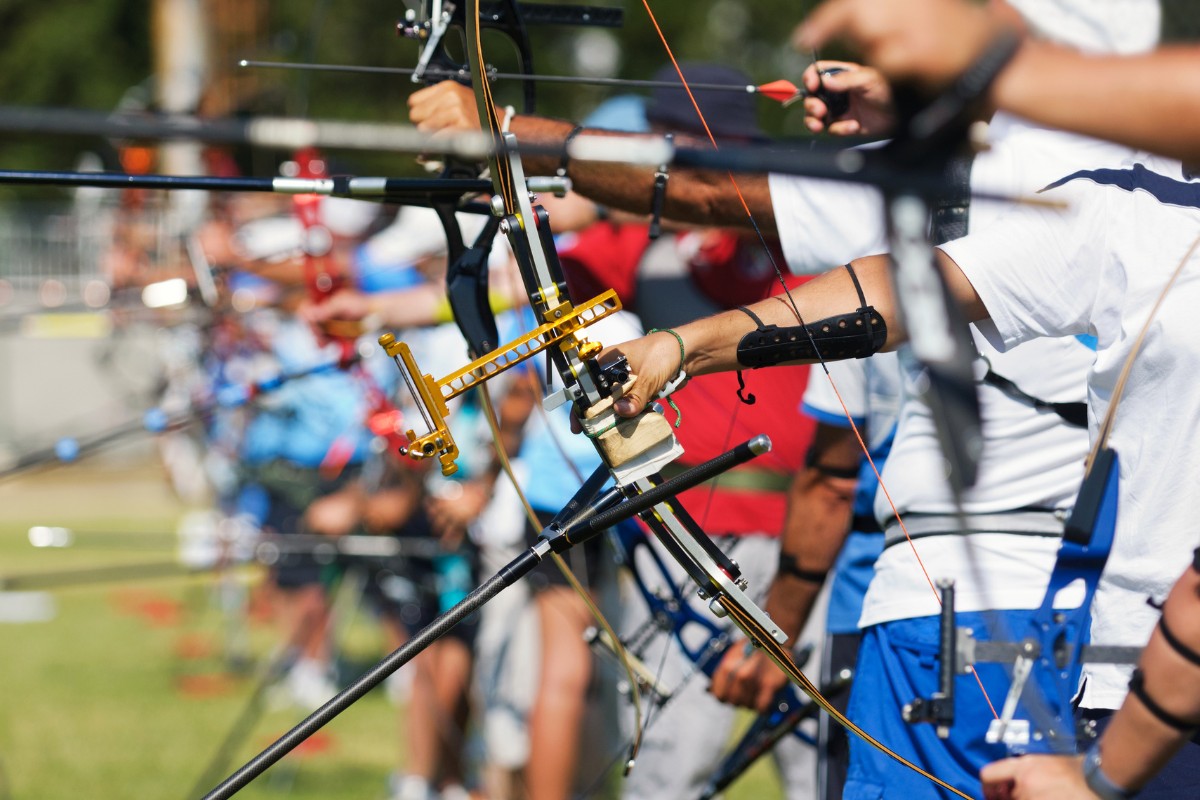
Ever thought Hawkeye and Lara Croft looked cool shooting arrows? Many people do. And what they have in common, besides a penchant for form-fitting clothing, is a recurve bow.
Of course, you want to take a page out of their book and use it too! But how do you shoot a recurve bow?
How to Shoot a Recurve Bow
Recurve bows are the way to go if you’re making a movie and want to make your hero appear effortlessly stylish. This sort of bow always looks sleek and makes archery look way easier than it actually is.
Some enthusiasts of the sport like to say that if your technique is subpar or you just can’t be bothered to learn it, you’d better shoot a recurve bow. But that is woefully, terribly wrong.
In reality, nothing is further from the truth. While shooting a recurve is not rocket science, it requires you to train your skills and, most importantly, to know what you’re actually doing. And this page is here to lend you a hand!
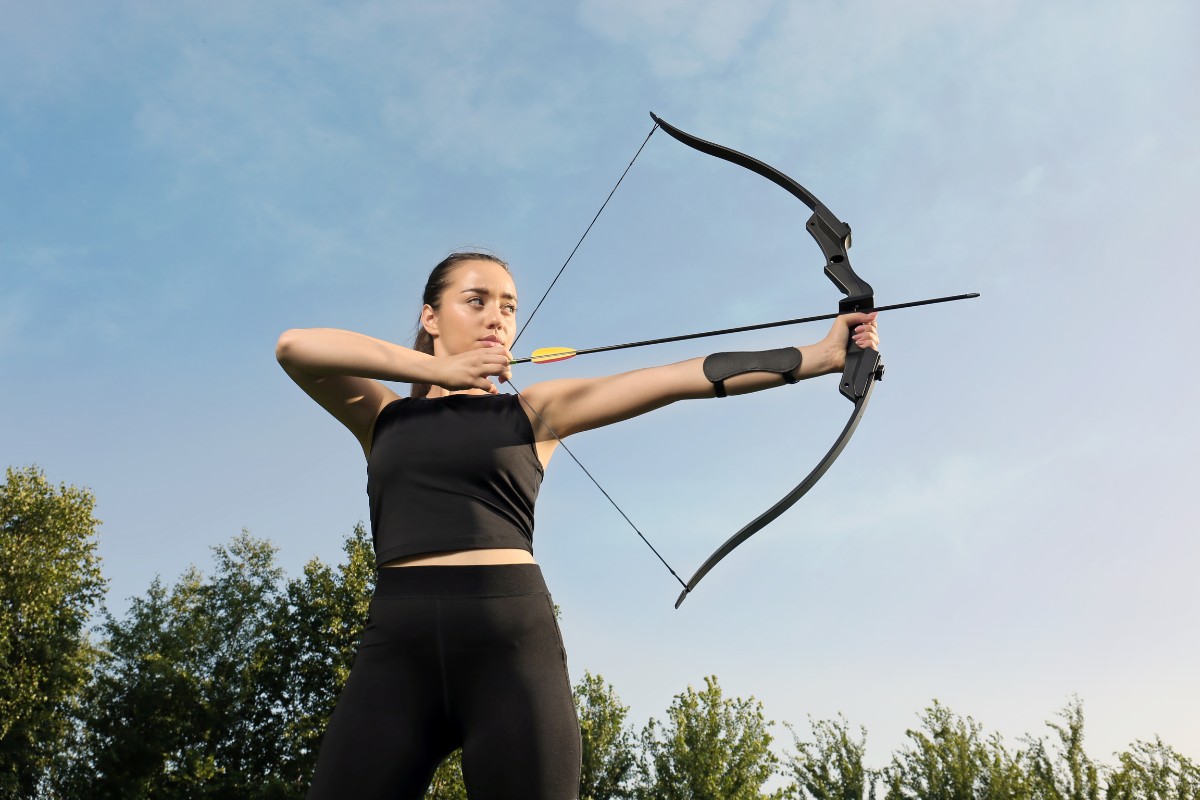
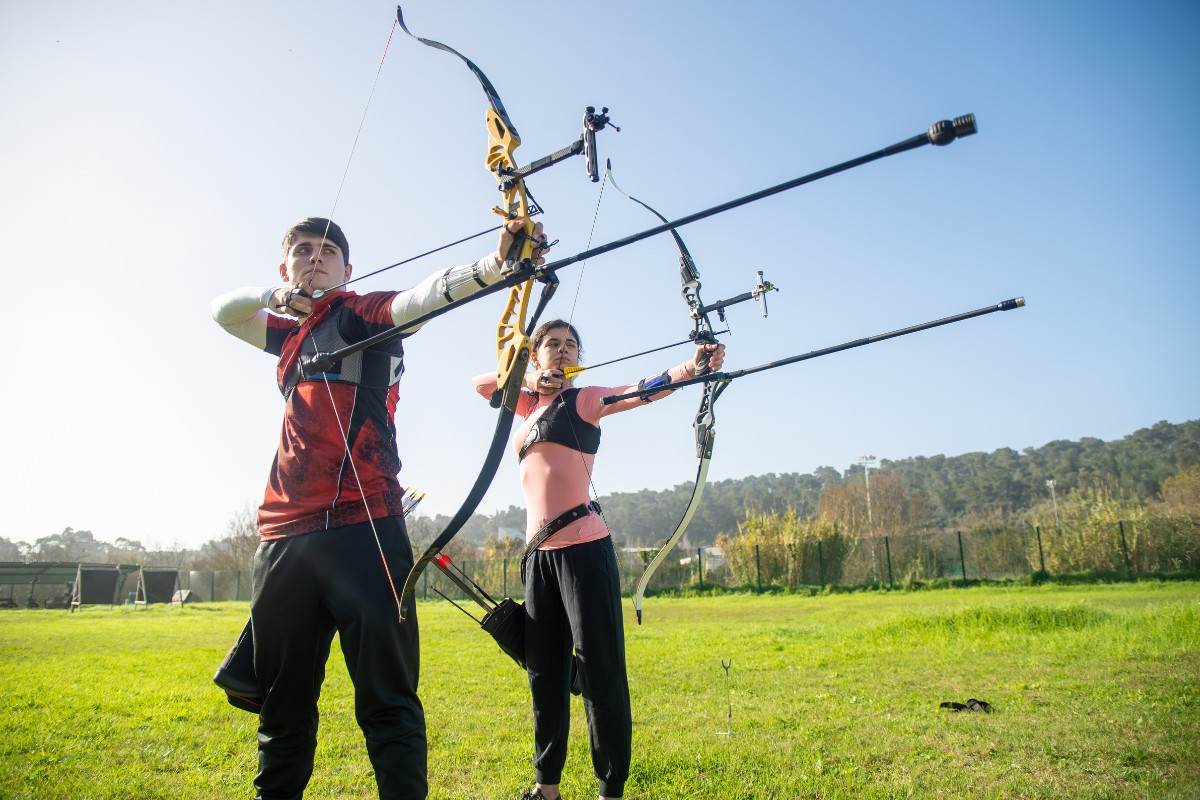
To sum it all up: you take your correct stance (bow in hand), you grip the bow with a relaxed but firm grip, draw, anchor the hand holding the string at the corner of your mouth, aim with help from the sight, and release! After releasing, you have to follow through until the arrow has visibly hit the target.
Stance
After watching so many movies in which the archer character shoots from horseback or other hijinks, you might feel tempted to ignore the position of your feet and body. While Mongolian archers were amazing at shooting from a moving point (aka horse), you’re probably not quite there yet.
So, face the target at a 45° angle, with your body turned towards the side of your active arm (the one that will draw the string). Keep your feet parallel and your knees soft—bent ever so slightly. The space between your feet should be about the same as the width of your hips.
Grip and Draw
Stop choking that poor bow. Your passive hand, the one holding the bow by its grip, should be relaxed but not shaking. Make sure that most of the pressure is on the area between the thumb and forefinger, and that you can mostly move the rest of your fingers without losing stability. Please, though—don’t open your hand, as that is incredibly dangerous.
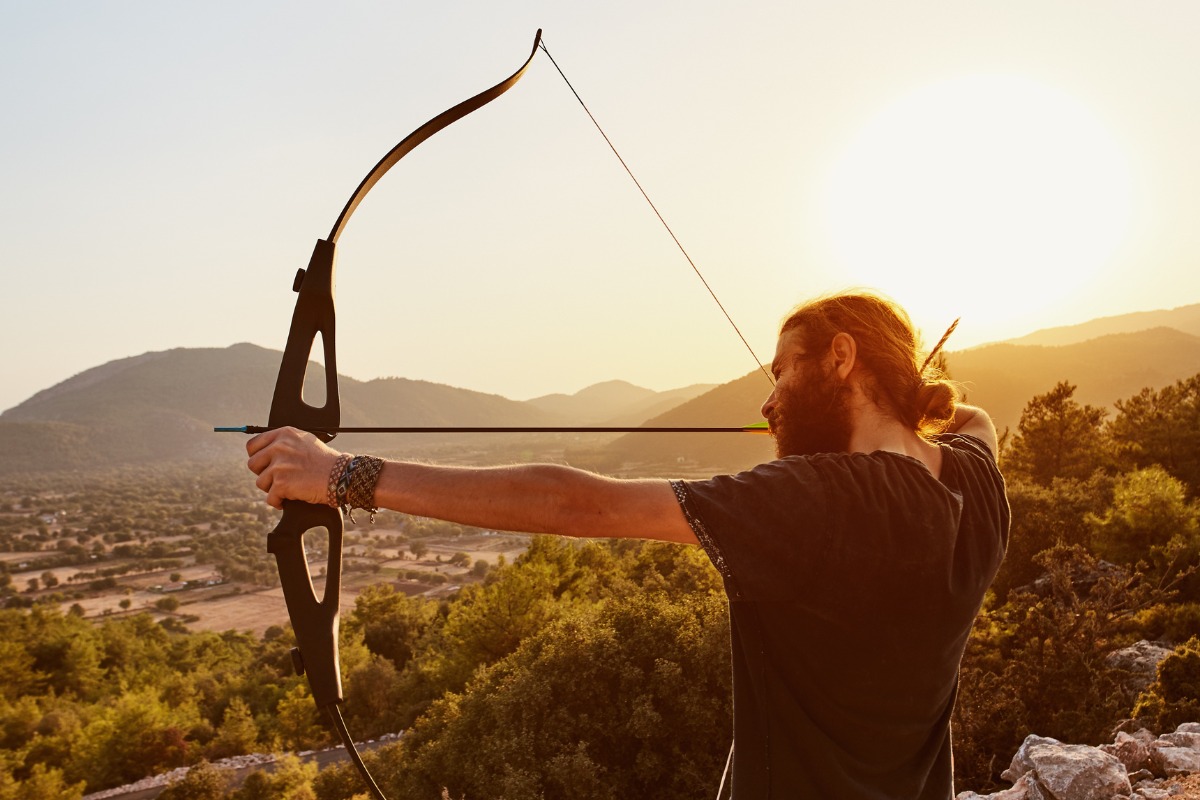
Now, to draw! Lift the bow and place your holding hand in a line between your eyes and the target. Don’t extend it completely—keep the elbow bent a tiny bit. Use the muscles between your shoulder blades to pull back the string with the notched arrow (never, never, ever draw a bow without a notched arrow).
Anchor
Once you’ve reached the maximum drawing point, you’ll feel it without any shadow of a doubt. Then, set the hand that is holding the string at the corresponding corner of your mouth (the same side as the hand) and hold it firmly in place. You can also choose to set the hand at the chin line.
Aim
If you’re using a recurve bow, chances are you’re keen on using all the fancy extras it provides. And that includes the sights, which make aiming relatively easy—if you compare it to, say, a longbow.
How to aim? The pros tend to do it a little above the target, so you might want to copy them. In any case, find what works for you!
Release
After you’ve anchored and aimed, wait one or two breaths. This will help your stability, giving you a possibly better shot. Don’t stay too long there, though: try to use your intuition to know the moment when you should release the string for the arrow to hit the bull’s eye.
Before letting go, minimize the tension in your fingers and stance so that nothing will jerk and change the path of the arrow. In case your compound bow has a mechanical release, just pull the trigger! If you fail miserably, no worries! Practice makes not perfect, but better.
Follow-Through
But, just like many other things (like a toxic relationship or pesky student loans), shooting a recurve bow isn’t done when it’s done. After releasing, you need to follow through. What does this mean?
Essentially, don’t collapse. However you feel, stay frozen in place until you hear and see the arrow hitting the target. This is so that you don’t make any involuntary movements that send your arrow off course as it’s leaving the bow.
And, just like that, you’ve done it!
A Few Extra Things to Bear in Mind
Before you can even think to start shooting your sleek, modern recurve bow, you need to have a sleek, modern recurve bow in the first place. So, how do you choose the best one for you?
There are lots of variables you can consider and a whole world of little extras that the different options have (a new cam here, an added stabilizer there), but the key factors come down to:
Draw Length
This is a fixed number (as long as you’re no longer growing!) that can be determined pretty easily. Just stand straight with your arms spread wide at your sides (at shoulder height) and get someone to measure your arm span from one tip of the middle finger to the other. Divide that number by 2.5 and voilà!
It’s especially important to know this when picking a recurve bow, as this type has a fixed maximum draw point.
Draw Weight
There are countless available charts that will guide you when choosing your recurve bow. In order to use them, you’ll need to know your own weight and level of fitness.
Once you have your equipment, you need to get yourself and your bow ready to go. First of all, remember to make sure that you’ve got everything you need and that your muscles are warmed up.
You also need to pay attention to the state of your bow: never shoot a bow that looks damaged. This includes fissures, scratches, or worn strings. If you ignore these key security points, you could get seriously injured!
Final Thoughts
Now you know exactly how to shoot a recurve bow, though getting someone to teach you in person is always a good idea. But good information is only the first (key) step: in order to become really good, you need to pour yourself, sweat, and tears into the sport.
So get up, go to your favorite range, and start practicing! With enough dedication, grit, and the appropriate wardrobe choices, you’ll look as sleek an archer as Lara Croft or Hawkeye in no time at all!
