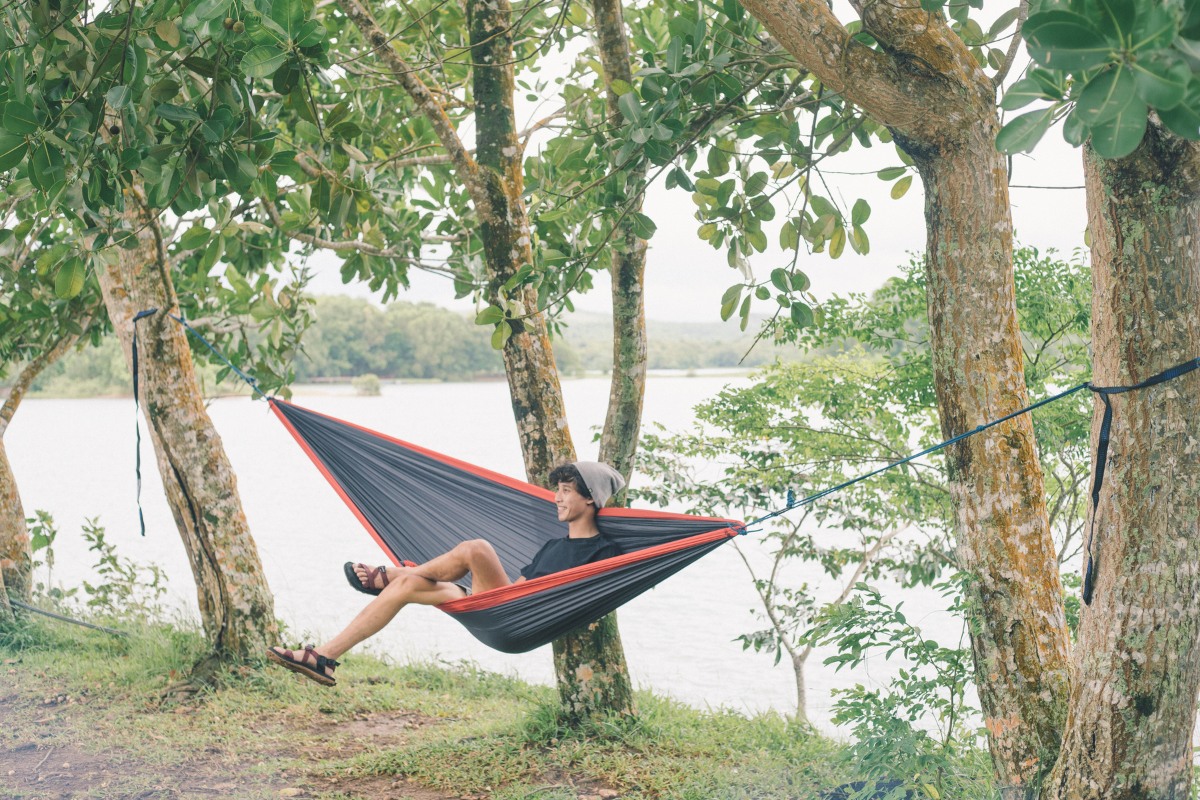
What Is a Hammock Suspension System
When you buy a new hammock, it often only comes with two Amsteel continuous loops bound on each end, so it can’t be directly hung between trees. The suspension system is the key to hanging the hammock off the ground; it’s the bridge between the hammock and trees (or other fixed anchors). Through the suspension system, you can adjust the hanging angle and length to get the most comfortable lay.
A hammock suspension system usually consists of webbing straps, continuous loops, and related hardware.
In the rest of this article, We’ll discuss five different types of hammock suspension systems and help you choose the right one for your hammock camping.
Daisy Chain Suspension System
The main components of this system are continuous loops, daisy chain webbing straps, and carabiners.
A daisy chain strap usually has 18-30 attachment points over its length for carabiner clipping to adjust the hanging length and angle.
The ENO Atlas Strap is one of the most successful commercial daisy chain straps on the market, known for its convenience and safety guarantee. Made of 1.5″ wide Polyfilament, 9′ long, and supporting a 400 lbs weight capacity, it is easy to use for both beginners and veterans.
How to Hang a Hammock with Daisy Chain Straps

- Wrap the daisy chain strap around the tree.
- Run the free end through the other side end loop to tighten.
- Connect the carabiner with the hammock’s continuous loop.
- Clip the carabiner to the proper sewn loop on the strap.
Pros and Cons of Daisy Chain Suspension
The daisy chain suspension is the most user-friendly hanging method, with no learning curve and a large weight capacity, making it popular among new hammock campers.
However, it also has obvious downsides. Each attachment point has a fixed length of around 4″ per loop, so it’s not 100% length adjustable.
Besides, the daisy chain strap is in double webbing mode, making it heavier than other tubular webbing straps. A pair of 10′ long 1″ wide polyester straps often weigh around 10 oz, plus two carabiners (around 1.6 oz), making it the heaviest among all suspension systems, not suitable for ultralight backpack hammocking.
Whoopie Sling Suspension System
Tree straps (huggers), whoopie slings, and other hanging kits are the main parts of this suspension system. One sewn loop tree straps and two sewn loop tree huggers both work well with whoopie slings.
What Is a Whoopie Sling
A whoopie sling is an adjustable rope made of Amsteel. It has a free end called the “tail” woven through itself (bury section) for pulling to adjust the length. It has a small fixed loop along with the tail side, a big adjustable loop on the other side, and a bury at the center. It usually has a plastic bead or ring spliced onto the adjustable loop to prevent pulling the loop into the bury.
A whoopie sling is usually 6 to 8 feet long and has a 6 to 8 inches long bury. It is commonly made of 7/64″ Amsteel, which has a 1500 lbs breaking strength, or 1/8″ Amsteel of 2500 lbs breaking strength, making it strong and safe to support an adult’s weight. It is very compact and lightweight; a pair of 6′ whoopie slings weigh only around 1.4 ounces, making it the best option for gram weenies.
How to Hang a Hammock with Whoopie Slings
Tree Straps + Whoopie Slings
For one end-loop straps, wrap around the tree and run the straight end through the end loop tightly. Attach the whoopie sling’s adjustable end to the strap’s straight end by a Marlin Spike Hitch knot with an aluminum toggle (or find a strong stick on the ground as a replacement). Connect the whoopie sling’s fixed end to the hammock’s continuous loop with a lark’s head knot, or use a carabiner instead, which can also function as a water break to stop rain from running down the hammock.
To adjust the length, one hand pinches the bury, the other hand pulls down the dangling tail to shorten the length, or pull up the adjustable loop to increase the length. If the bury is compressed during the hanging, flatten the bury with your hands to distribute the load evenly on it, a process called “milking.”

Something you should notice
- Put the whoopie sling’s adjustable loop over the MSH knot, rather than placing it directly on the toggle. This reduces the tension on the toggle, which only receives pressure from the knot.
- You can also use a Dutch Buckle as an alternative to the Marlin Spike Hitch and toggle, as it is more convenient and neat to adjust the strap’s length, and the sling’s loop won’t slip off the buckle, which might occur with the knot.
- If the distance between the trees is too small, you can remove the whoopie sling and just hang the continuous loop on the strap’s MSH knot (or use a carabiner connecting the continuous loop to the tree hugger).
Tree Hugger + Whoopie Sling
For two end-loop huggers, the suspension method is the same as the tree straps, except for how to connect the whoopie sling’s adjustable loop to the hugger’s loop end. You can connect them by a carabiner or use the Marlin Spike Hitch with toggle system used in the above tree straps.
Dutchware has whoopie slings with a whoopie hook spliced onto the adjustable loop to replace the bead, which can directly connect to the hammock’s continuous loop, then connect the fixed end to the tree hugger’s end loop by a lark’s head knot or a carabiner. With this unique design, the whoopie sling is easier to connect and disconnect from other suspension parts.
Should the Whoopie Sling’s Fixed Loop Connect to the Hammock or Strap
Both are fine; it depends on your personal preference.
However, attaching the fixed eye to the hammock (continuous loop) is likely more popular since it is close to the hammock, meaning you can adjust the mechanism under the tarp to avoid getting wet if it rains outside.
If you use Dutch’s whoopie hook system, you should connect the fixed loop to the webbing strap and attach the whoopie hook to the continuous loop.
Pros and Cons of Whoopie Sling Suspension
The whoopie sling suspension system is definitely worth considering for the best hanging system due to its ultralight weight, small bulk, and flexible adjustability.
However, this hanging system also has some downsides. The sling cord is hard to adjust in cold, icy weather with gloves, and if the tree distance is too small, sometimes you should give up the whoopie sling and attach the continuous loop to the webbing straps directly.
Descender Rings Suspension System
This suspension system is comprised of continuous loops, descender rings, and tree straps.
Descender rings are made of aluminum or steel, have no seams on the surface, and are strong and lightweight, with no abrasion or wear for webbing straps and ropes when crossing through.
SMC descending rings are widely used for this hanging method. These no-weld aluminum rings have a 1.5″ inside diameter and only weigh 0.8 oz per pair.
How to Hang a Hammock with Descender Rings
Like all other suspension systems, lark’s head continuous loops to the hammock. Wrap the strap around the tree, pass the free end through the loop sewn end or clip biner. Run the continuous loop through the two rings to form a lark’s head knot. Put the free end of the strap through the center of two rings, finally crossing only one ring to complete. Pull the strap end to tighten, or separate the rings to loosen.

For security concerns, tie a slippery half hitch knot at the end of the webbing to avoid slippage. (Warbonnet offers triangle rings buckle, which don’t need a backup knot.)
Descender Rings & Garda Hitch Hanging (Method 2):
Derek from theultimatehang introduces a no-knot option when using descender rings for hanging a hammock.
In this method, you need an extra piece of spectra or Titan cord for connecting D rings and tree strap. The rest of the suspension part is the same as the common way discussed above. Instead of running straps through the rings and tying a slippery half hitch knot, just attach one end of the extra rope to the strap, pass the other end of the rope through the rings and wrap twice. For the third wrap, only cross one ring to form a garda hitch. Then you can shorten the length by pulling on the end of the extra rope and separate the rings a little to release the tension.
Because the garda hitch only slides in one direction, the rings compress the rope and won’t slip, so no backup knots are needed.

Pros and Cons of D Rings Suspension
This old-school two-rings suspension system is simple, quick to set up, 100% micro-adjustable, and super strong, making it popular among both camping beginners and veterans.
The slippage issue is its biggest downside. Despite a slippery half hitch almost solving this problem, for people who pursue 100% perfect hanging, this method still has a bit of a “flaw.” Once the hitch is done, it’s inconvenient to adjust the strap length.
Cinch Buckle Suspension System
This system consists of continuous loops, cinch buckles, and webbing straps.
The cinch buckle is made of aluminum or titanium, lightweight and compact, and can be considered an upgraded version of descender rings. It has a slider toggle at the center, which will self-tighten when under pressure. Once set up, no backup knot is needed, and it is super convenient to adjust.
Additionally, the buckle can act as a drip stop to prevent water from running down to the hammock.
How to Hang a Hammock with Cinch Buckles
Attach the cinch buckle to the continuous loop with a lark’s head knot. When the strap is wrapped around the tree tightly, feed the straight end of the strap through the buckle, then feed back under the slider to complete.
Pull back the end of the strap to shorten the length, or the other side of the strap to increase the length.

Pros and Cons of Cinch Buckle Suspension
This buckle system is considered by many to be the most perfect suspension: easy to set up, solid, incredibly adjustable, and no extra knot needed.
Despite being a little bit heavier than the whoopie sling system (Dutchware provides a Titanium Cinch Buckle weighing only 0.4 ounces each to reduce weight), it’s feasible to hang and adjust with gloves in cold winter weather.
Becket Hitch & J-Bend Suspension System
Different from other suspensions listed above, this system doesn’t need any hardware or kit; only continuous loops and tree straps are needed. Hammock and straps are connected directly by two different types of knots: Becket Hitch and J-Bend knots.
How to Hang a Hammock with Becket Hitch & J-Bend Knots
Due to the complexity of describing how to tie knots with words, you can see the below video to learn the process, which is super easy to follow.

Pros and Cons of No Kit Suspension
These two knots are both strong and slip-proof, simple, and untie quickly. The most awesome part is that they’re the lightest system among all.
Since tying a knot is a complicated topic, some people can’t handle them well, and once the knots are tied, the suspension length can’t be adjusted except by undoing them. So this hanging method is suitable for experienced hammockers or those who don’t like suspension hardware. When you are familiar with these knots, the whole system will become fast to adjust and won’t be much more complicated than the buckle system.
Conclusion
Hammock suspension systems are varied and not limited to the five types listed above. No specific hanging system is perfect; everyone has their own taste and hanging habits. You can try all the common suspension methods above and find your “sweetest” hanging suspension.
Lastly, every suspension will wear and tear after long-term use, so don’t forget to inspect your suspension before the next hang.